


I’ve had an idea in my head for some time now to take a template for a 3D paper shape and see if I can transform it into fabric form to my liking.
Today, I finally got a moment to tinker with this notion and because I’m happy with the results, I thought I’d share my basic steps of how I made it.
I have a old book of 3D paper templates (although if you don’t, you can easily find some online).
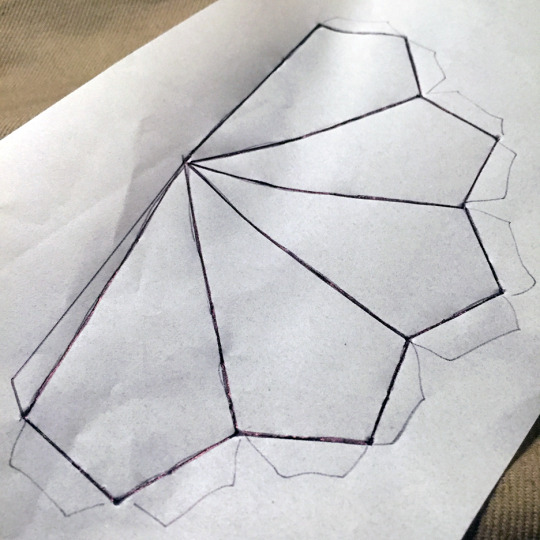
I used some trusty vellum and traced the shape I wanted; in this case, a trapezohedron.
I chose a scrap of shiny gold fabric and ironed to it a layer of Pellon’s adhesive Flex Foam, to give it stability and rigidity. If you don’t have Flex Foam, I’m pretty sure the same result could be achieved with craft stabilizer or even fabric stiffener.
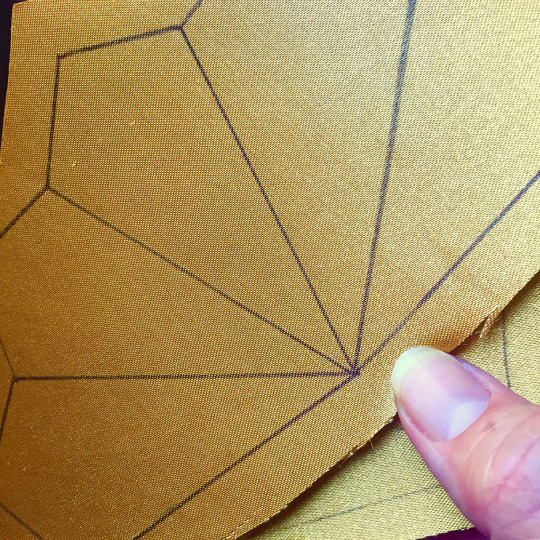
I then traced the template shapes onto my prepared fabric. If you care about the lines not showing, you could use a thinner marking tool or be sure to stitch with thicker thread. I used a ballpoint pen and didn’t mind it being thick because I wanted to make sure I’d see it well while it was under my sewing machine foot.
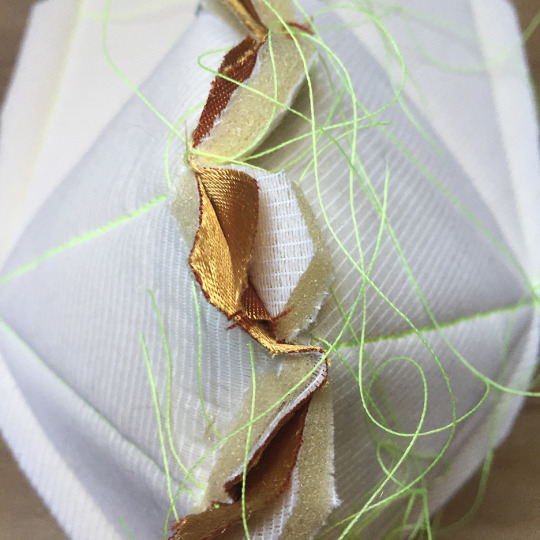
I used neon yellow thread and sewed along each line on both template pieces. Once each of them were ready, I decided to assemble the two halves together on my sewing machine. If you prefer to hand stitch them together, that would allow for more precision, although it would also take longer, and my objective was to see how this would all look once complete.
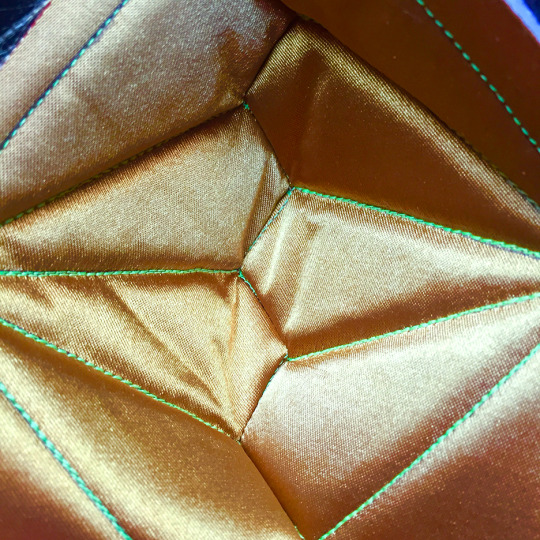
Much like stitching hexagon shapes together, the assembly itself is an exercise in Y-seams. The key is to stop and start along each little length (and backstitch) and slowly work all the way around the shape.
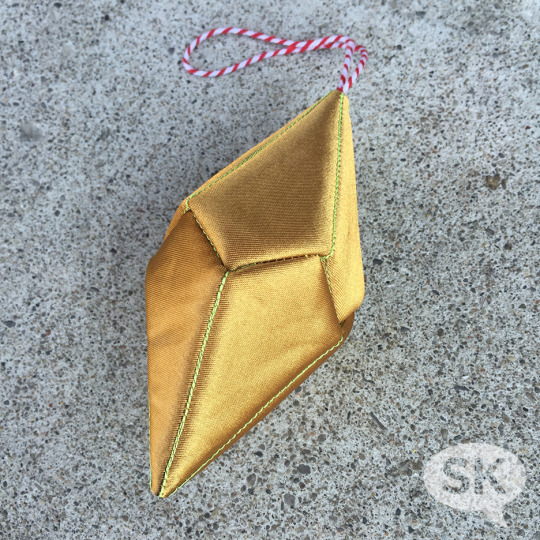
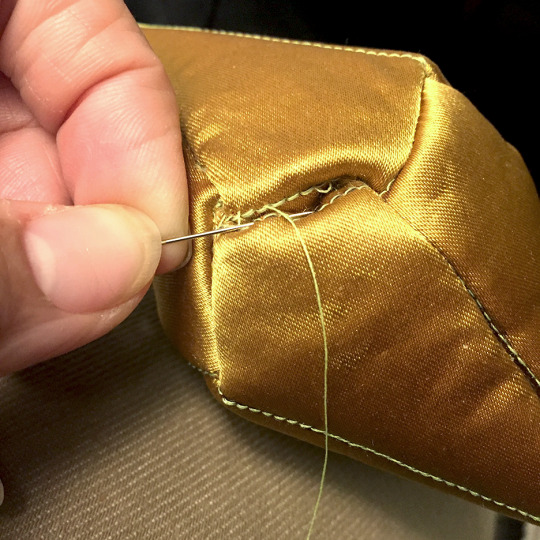
I left a little hole in one side, added in a hanging loop, and with an 1.5″ opening remaining, turned the entire shape right side out.
I found the Flex Foam to be great for holding its shape. For added stability, I loosely stuffed the shape and even tossed in a couple of jingle bells inside, just for fun.
Last step was to hand stitch the opening closed.
For a first try, I really like it. What started as an experiment has turned into a festive ornament that will hang on our Christmas tree later this year.
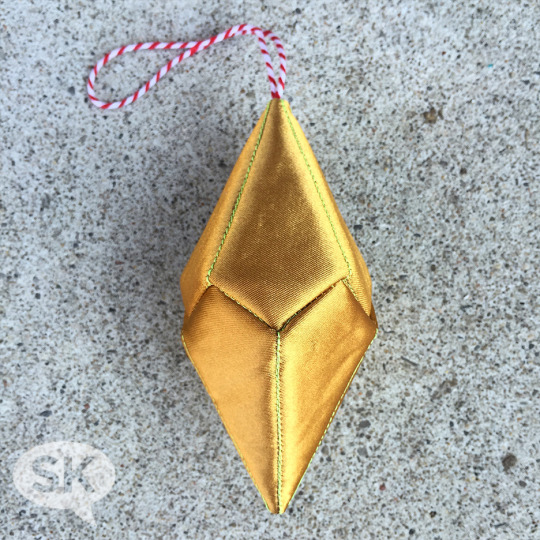
A successful study, I have plans for more in different shapes and sizes. Just need to find another spot of free time and I’ll see what I can come up with next.
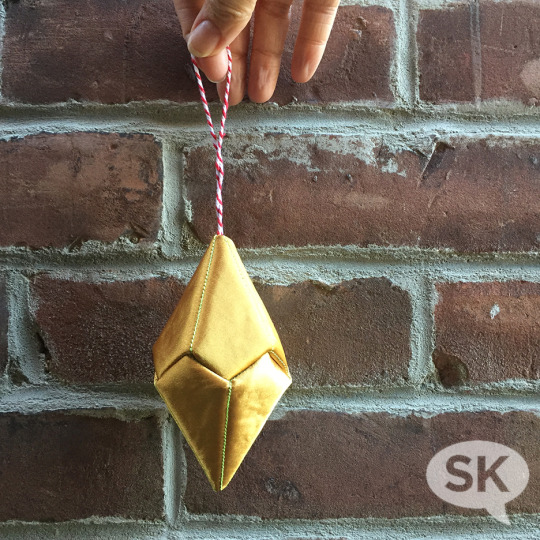
Until then, I’m very pleased with my little shiny creation! Woohoo!