

If you’ve been over to Spoonfower recently, you’ll have been introduced to my L’Artiste Paint Palette Halloween Costume:

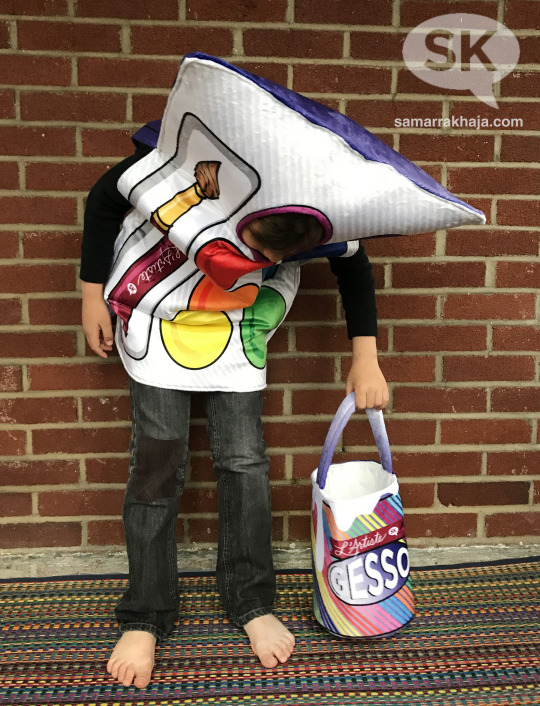
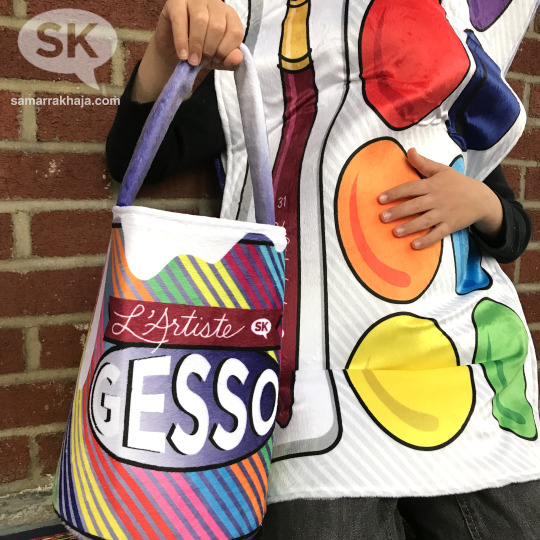
And now here in this post, you can find the sewing instructions for the accompanying L’Artiste Gesso Paint Can trick-or-treat bag! Because we can’t forget the candy collecting!
Here’s how to assemble your very own:
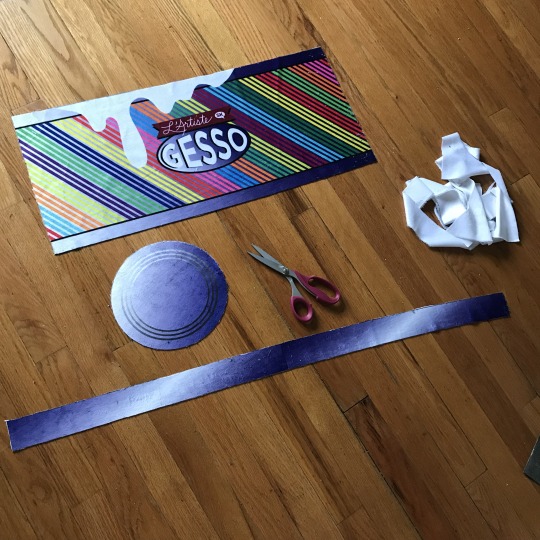
1. This is the sewing kit you’ll need; get it in the minky substrate, to ensure you get all the pieces. Cut out all pieces along black lines (paint can rectangle, circular can base, and two handle rectangles):
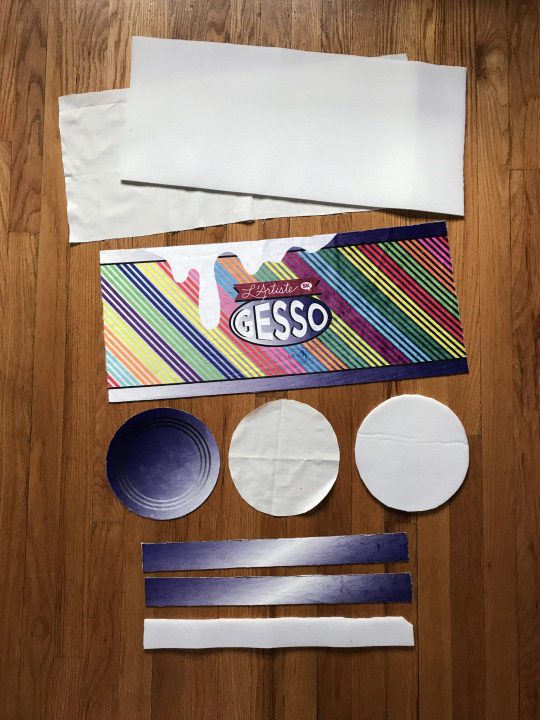
2. Using the paint can rectangle as your template, cut out 1 same-sized rectangle of foam stabilizer and 1 out of white lining fabric. Using the paint can circular can base as your template, cut out 1 same-sized circle of foam stabilizer and 1 out of white lining fabric. Using one of the handle rectangles as your template, cut out 1 same-sized rectangle of foam stabilizer. You should now have these pieces:
3. We’ll assemble the handle first: Layer minky pieces face-to-face with the foam stabilizer layer on top of them, like this:

4. Pin layers in place and sew all the way around each edge using a ½” allowance, leaving one short edge open. Trim off corners and turn handle right side out.
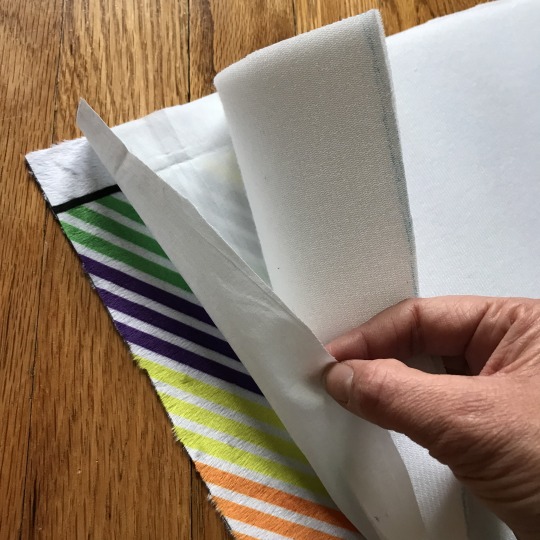
5. Next, we’ll assemble the paint can rectangle: Layer minky piece face up, place your white lining layer next and the foam stabilizer on top of everything, like this:
6. Pin layers in place and sew all the way around all edges using a ½” allowance. NOTE: Make sure to leave 2 openings, each approximately 2½”- 3″ wide, for the handle ends and to turn the rectangle piece right side out; refer to this diagram as your sewing guide:

7. Turn paint can rectangle right side out.
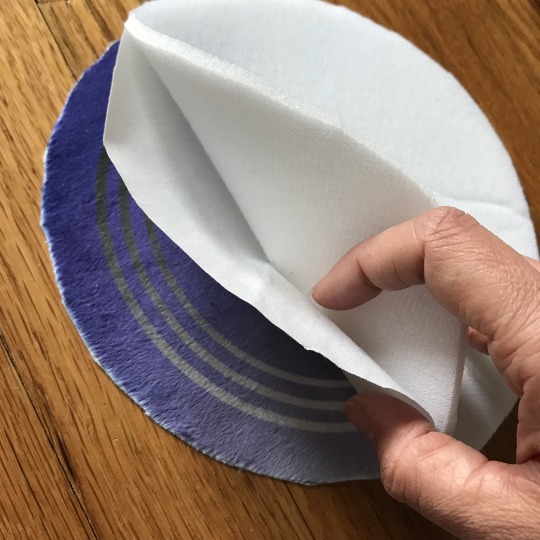
8. We’ll now assemble the circular can base: Layer minky piece face up and place your white lining layer next with the foam stabilizer layer on top of everything, like this:
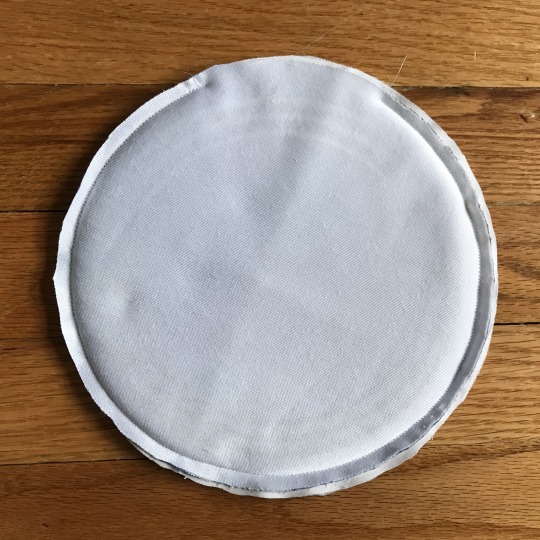
9. Pin and sew around edge, using ½” allowance. Leave a 2½” opening, like this:
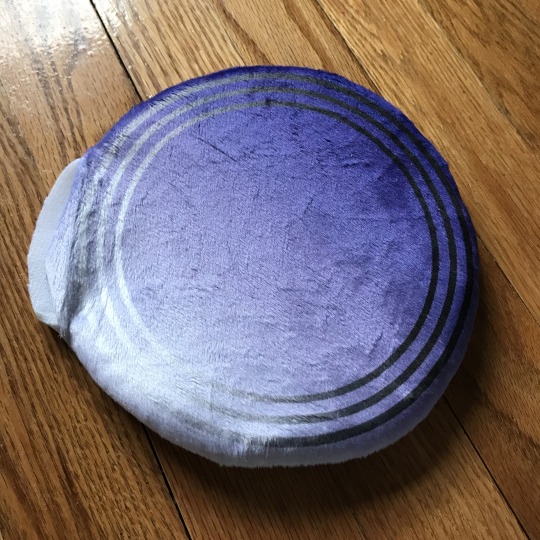
10. Turn circular can base right side out, like this:
11. Place handle ends into top of paint rectangle and topstitch across entire top edge of rectangle, securing handle in place. You should now have pieces that look like this:
12. Curve rectangle around to end to end and sew up back edge of the can.
13. Sew opening of paint can base closed. I chose to ladder stitch this shut by hand to hiding the stitching.
14. Pin circular can base to the bottom of paint can and sew all the way around. TIP: If machine-sewing, sew on the inside of the can and base, on the lining side, so the stitching is hidden once can is flipped right side out. You can also chose to sew this by hand with a disappearing ladder stitch.

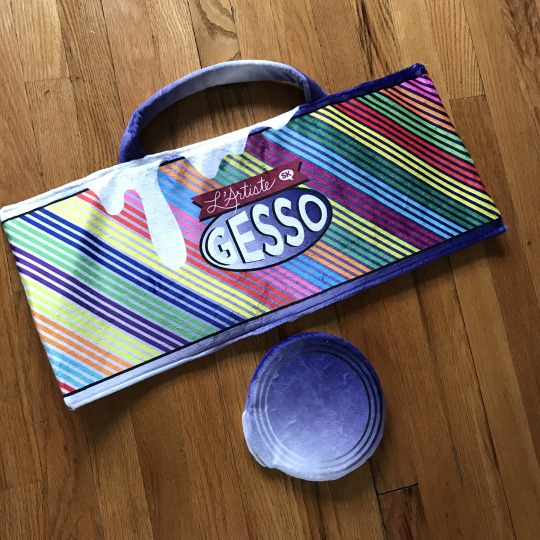
15. Your L’Artiste Gesso Paint Can is officially complete and ready to stuff candy into! Go get some, you happy Halloween-er, you!