I’ve been on a toy bag-making kick lately. It started before Christmas, and has continued into the new year.
I know I’ve shown you this quick bag (which was inspired by this first bag) and because I’m a bit of a tinkerer, I thought you might like to see this latest random batch, all of which are a little bit different from the next.
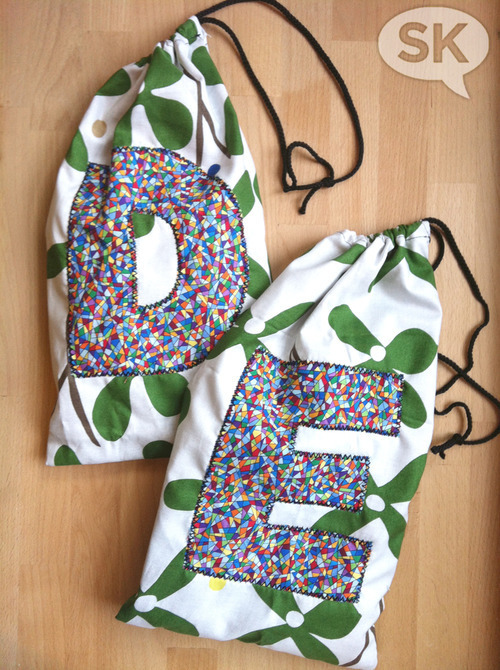
I know kids love having things that are distinctly their own, so I thought personalizing bags with big fabric initials was a must. Plus, it’s a fun excuse to mix in multiple fabrics (and use up scraps)!
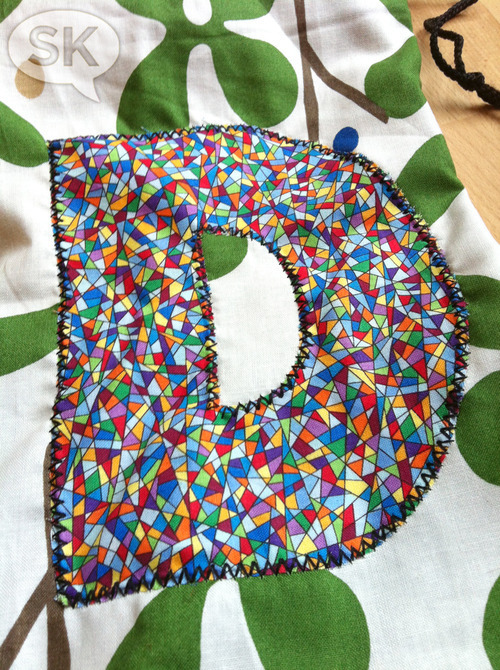
It’s also a good opportunity to play with different stitches and contrasting thread, not that black is all that contrasting in this case, but you get my drift.
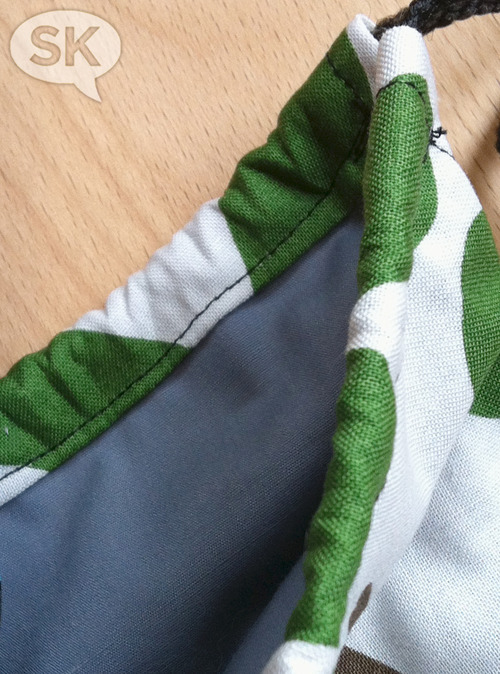
I also added a lining when using fabrics with white backgrounds. I like that it makes everything look uniform from the outside. It also sandwiches in the backside of the letter appliqué stitching so you don’t see a mess when you look in the bag. The best part is it also makes the bags much more heavy duty (the better to shove heavy duty toys into, my dear!).
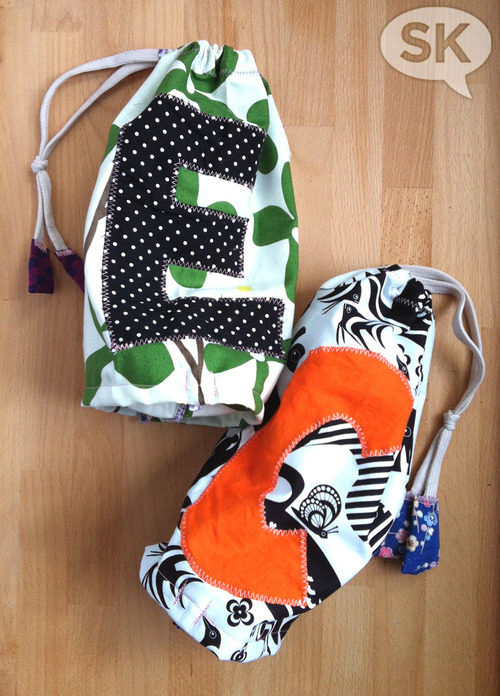
I’ve also recently took the opportunity to use up a lot of supplies and materials I already have.
I don’t know about you, but I have gobs of scraps, bits and pieces that I’ve held on to over the years and I’m starting to feel like I really can no longer justify collecting any more unless I start using up what I already have!
I’ve had this approach for gift-making in the past and I’m going to try to stick to it for the next few rounds of holidays. So with that in mind, I ended up tricking out these two bags in a bigger way with a couple more bells and whistles…
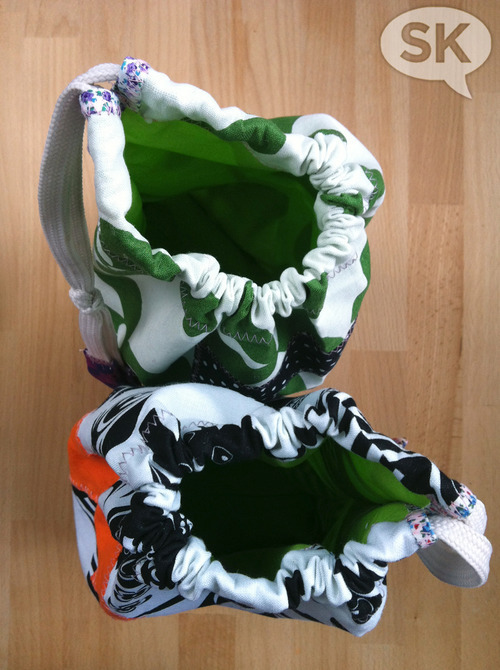
I tried a different construction (that I made up as I went along, which might account for them being a bit oddball and not totally premeditated).
I kept the same basic bag idea and added a separate circular base to the bottom, so they can stand upright once filled. Their being lined also helps them maintain that shape, which I like.
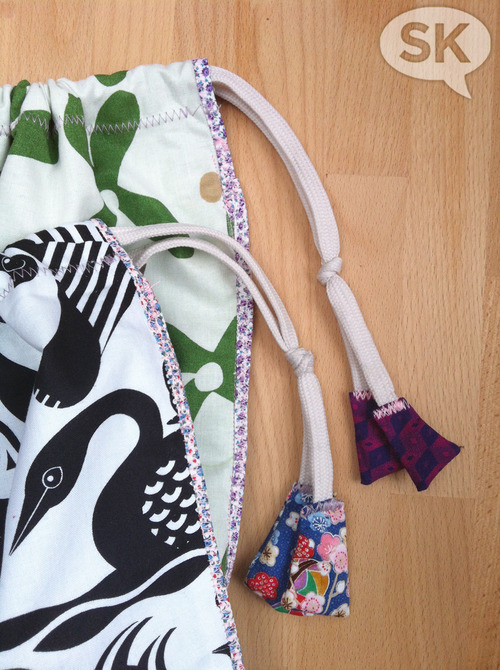
I found two random shoelaces I had squirreled away, cut off the aglets and mixed in even more patterns by way of additional fabrics scraps used as drawstring end embellishments.
And I didn’t stop there (being in high experimentation mode, I suppose) and added some contrasting vintage floral bias binding to each bag.
I’d like to try this circular construction again and think them out more before I’m actually sitting there at my machine hacking away at fabric and sewing them up.
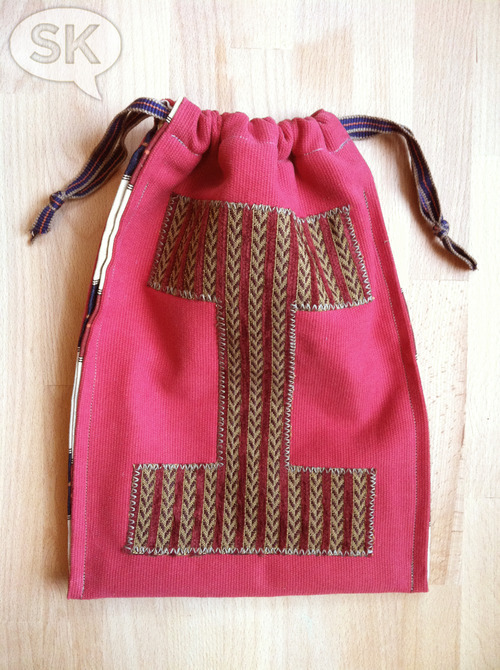
My approach was very different for this bag. It was for a birthday present and knowing that the family loves a retro 70’s feel, I couldn’t resist the opportunity to use up more random upholstery scraps I was hoarding and make something that suited their aesthetic.
I also tried a slightly different construction, with a double drawstrings and topstitching up the sides of the bag so the lining would peek through those edges.
Are you like me, in that you have fabrics you adore (some you use, others you just stare at and never dare cut into), fabrics that you can only see using for other people or for Halloween costumes (because they don’t quite suit your personal tastes) and then that inevitable “I better just hold onto this” pile of odd fabrics too?
Just tell me I’m not alone.
The good thing is right when I don’t know why I kept something, a little project like this bag justifies my foresight. That’s my defense and I’m sticking to it.
Anyway…
It was great to play with textures and use up more random pieces of fabric. I swear I *will* lighten my fabric load eventually!
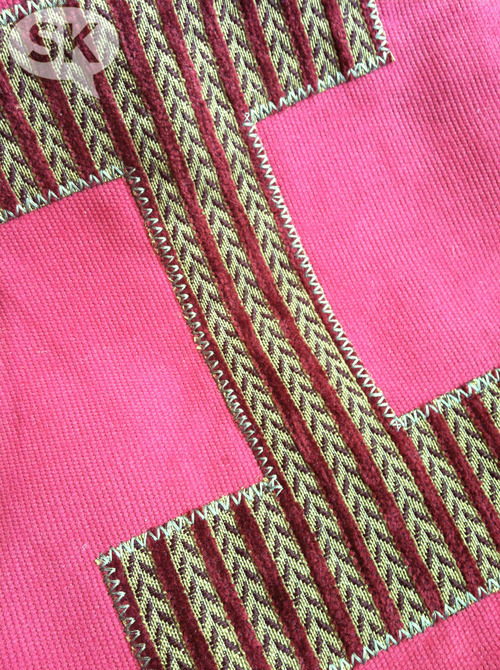
I also upped the ante with using a triple-zigzag stitch my machine has. The thread’s satiny look was a lush little contrast with the velvet stripes.
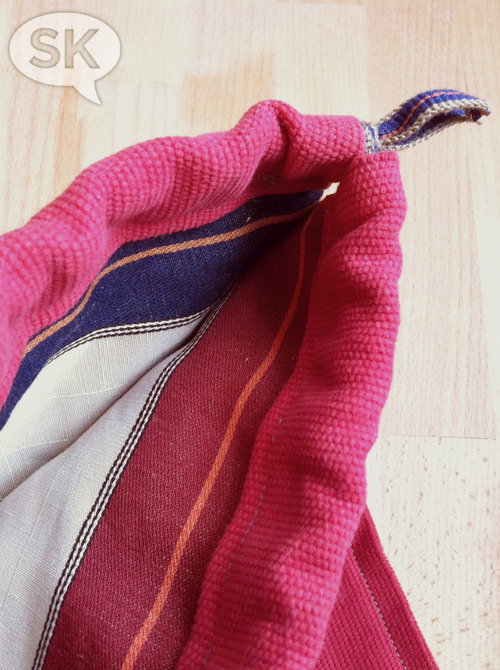
I didn’t have enough of one fabric for the lining, so I paired up two colorways of the same pattern and made a complete lining from those.
I had also had my heart set on using leather shoelaces for the drawstrings (which would have really sold it’s 70s feel), but for the life of me, I couldn’t find anything in my stash, nor did any store I go to have the thickness and quality I wanted. In the end, the woven drawstrings I used worked just fine and even mirrored the lining pattern nicely. A happy coincidence!
Overall, I think It ended up a bit too bulky when pulled shut, but the little recipient is over the moon with it, so hey, I’ll keep my end-of-project critique to myself.
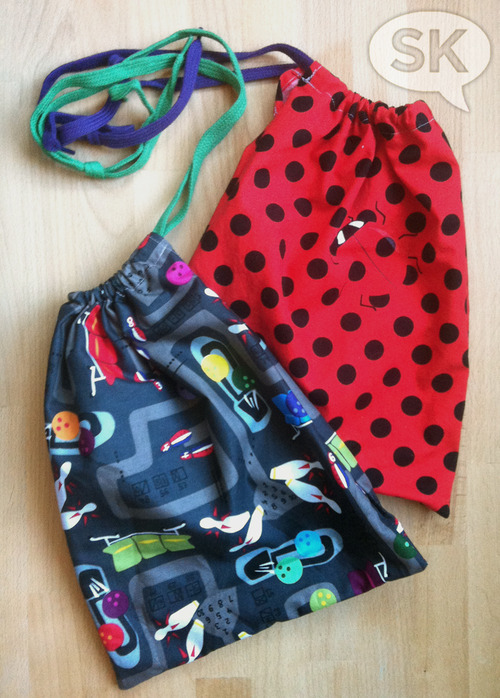
After making a mess of bags and realizing I was petering out when it came to time (and interest, truth be told), I rounded back to where I began and made up two simple bags as quick gifts for more little kiddo friends.
I thought of monogramming them, but felt the patterns had a lot of interest as is and, can you believe it, I just couldn’t find any other patterns that I truly wanted to pair them with. So, I left them as is. I didn’t line them either. They’re exactly like the ones my kids have and those have held up just fine.
I had an two unopened packs of brightly colored shoelaces and used one from each pack just the way they were. A knot in end of each drawstring and voila, they were done….and immediately used after being opened by their recipients. That’s the best feeling, seeing them get stuffed full and dragged around the floor.
To use them is to love them!
And that, my friends, concludes this Bag Lady’s post on toy bags. You know, until I get another bee in my bonnet and go on another making spree. I will, of course, keep you posted on that. 😉
