


Tomorrow is the start of Winter Break and there’s less than a week til Christmas.
Gah!
One thing I have managed to (almost) finish in the St. Nick of time is this little fly-by-the-seat-of-my-pants project I concocted the other week and was dead set on getting done before another year passed.
It started with two things. First, I’ve had my eye on wonky cross quilt blocks for awhile now. I know, weird. Second, we don’t have a tree skirt thingy for the base of our Christmas tree. Not necessarily so weird.
Put those two things into my brain, stir them around and out comes this project idea: a Holiday Present Cross Block Tree Skirt!
Whaaaa?
Oh, yesiree.
If you’re interested in doing something similar, here’s how to go about it. First, you’ll start out making your wonky cross block similar to this tutorial by Elizabeth Hartman.
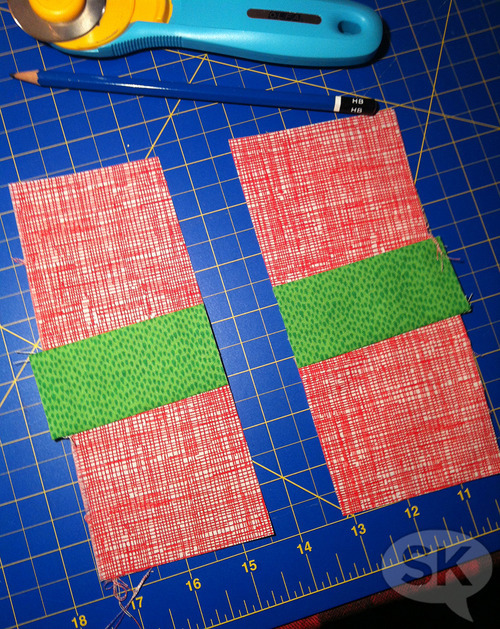
Once you get to this step, stop because it’s time for the twist. *okay, you can get up and dance 50s-style now too if you need a break, although that’s not really what I meant.*
Anyway…
Once you’ve cut and sewn in your first line of the X shape and before you sew in the second one, you’ll want to make a couple of little double-sided bad boys that look like this:

Ribbon bows! I made them freeform on the machine and you can make a variety of different types….rounded, double-points, triangular, whatever you like. They’re double-sided, sewn together inside out and then flipped right-side out and ironed flat.
You’ll now sandwich them in to either side of the final X strip that you’ll then sew in to the block:
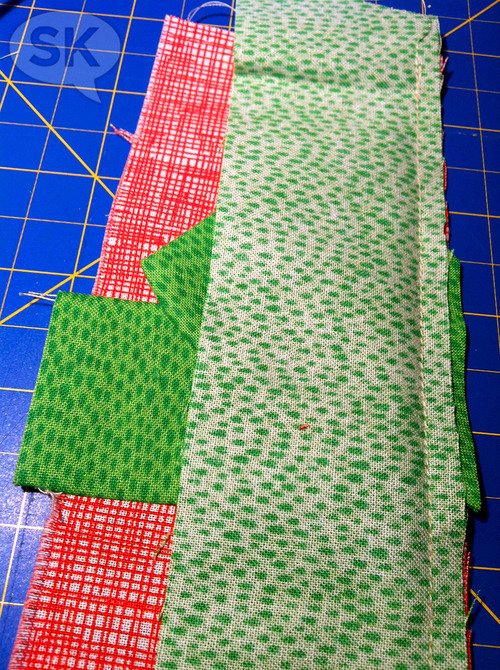
Angle them any which way you like and trim off the excess by the seams.
Once that’s done you’ll have something that looks basically like this:
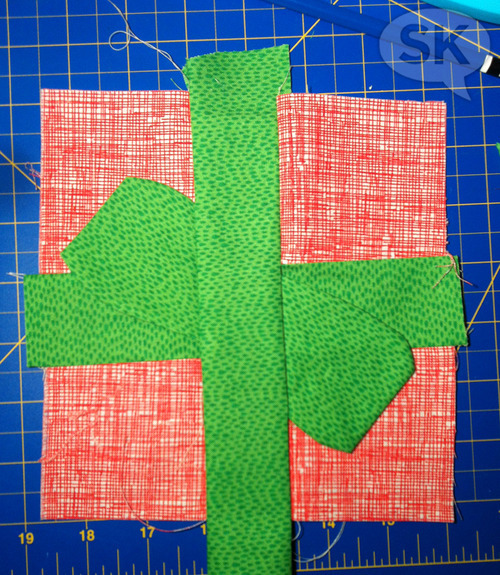
Ta-daa! A present!
Now you can square off your block to get rid of the extra messy bits.
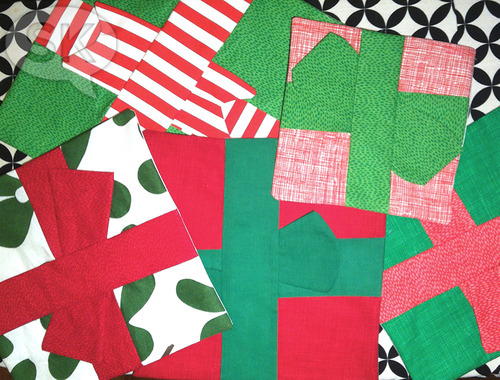
If you have zero interest in making a tree skirt, that’s totally fine, because these blocks are multifunctional and can easily be sewn up into a quilt, or padded and lined and made into trivets, or, if small enough, fun coasters. The possibilities are endless.
What I did was make a gob of them in different sizes and fabric combinations; I’m obsessed with my Timeless Treasures combos the most (Sketch! Rain!) and I loved switching up all the pairings to make as many unique presents as possible. I went with classic red and green colors because they give a nice pop below our vintage aluminum tree, but you can of course pick any colors you like. I then lined each block in white silk fabric.
After two days of feverish sewing, trimming and ironing (oh, I’m going to tell you about my recent adventures in ironing in a post to come), I had enough wrapped presents to make THIS:
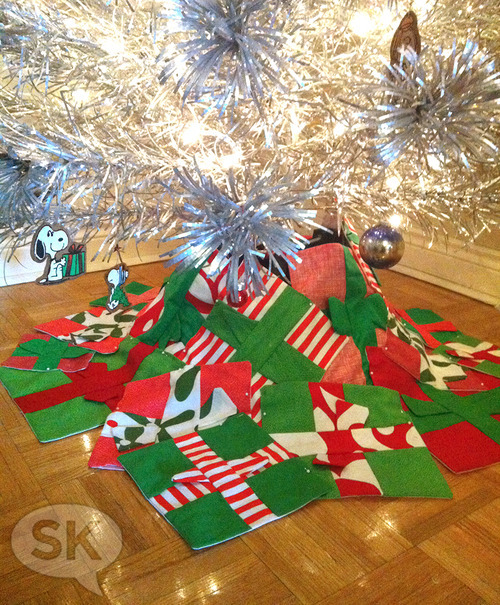
I placed all the present blocks around the tree and adjusted them to fit nicely around my specific (weirdo) tree stand and then fanned them out further onto the floor. Everything’s pinned together for now until I can hand-stitch it all into place. Baby steps, people.
See, so now the tree is never without presents! During all the days leading up til Christmas and even after, once everything has been torn open and debris has been strewn all over the house.
Woohoo and yay to that!