


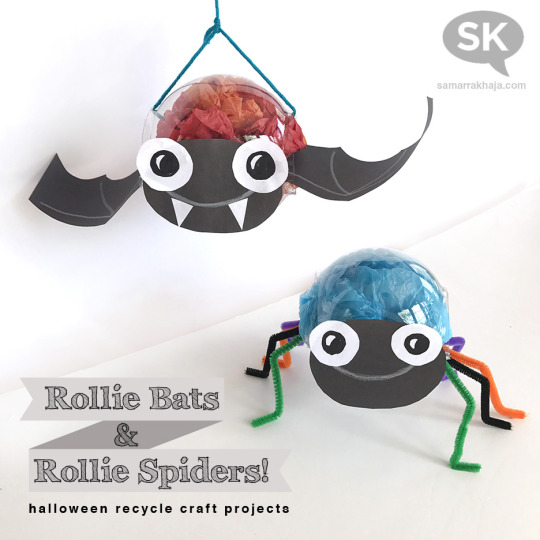
For the Rollie Bat tutorial, go here. Rollie Spider fans, read on:
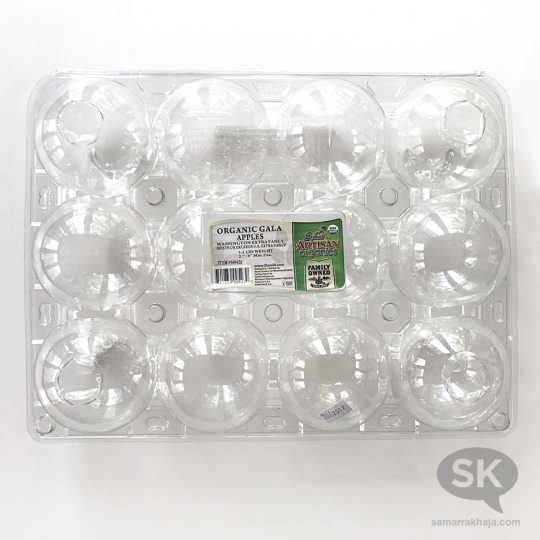
For a very long time now, I’ve been pondering ways to reuse those plastic apple cases/carton/whatever they call them, that you buy you apples in from bulk stores like Costco. Ideally, I want the companies that supply them to take them back and reuse them, but until everyone is more environmentally-minded, I’ve just stock-piled them because I figured it was a good creative challenge to see if I could ever come up with a solution.
It’s a decadent amount of plastic and I’ve wondered how I can throw in just one more use before they end up being (or likely not) recycled.
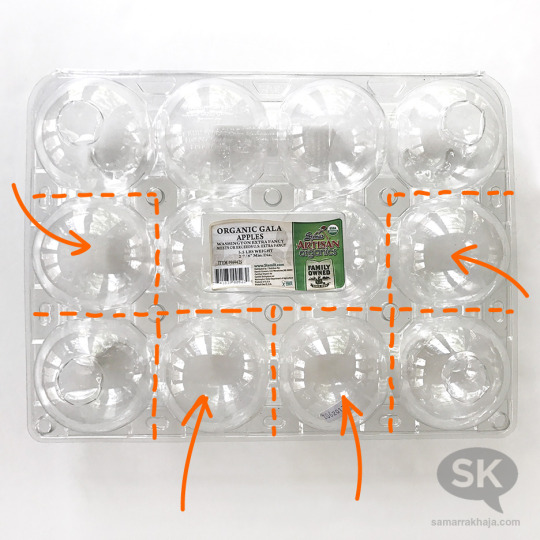
Here’s that apple case, in case you haven’t seen them on your shopping trips:
And while I’m at it, here’s a photo of some of the other things you’ll need to complete your Rollie Spider, including:
• Hot glue gun and/or a glue stick
• Black and white construction paper and/or recycled white bottle caps
• Washi or masking tape
• Four pipe cleaners (new or better yet, recycled)
• White colored pencil and black (or other color) permanent market
• Tissue paper or brightly colored recycled grocery bag
• Scissors
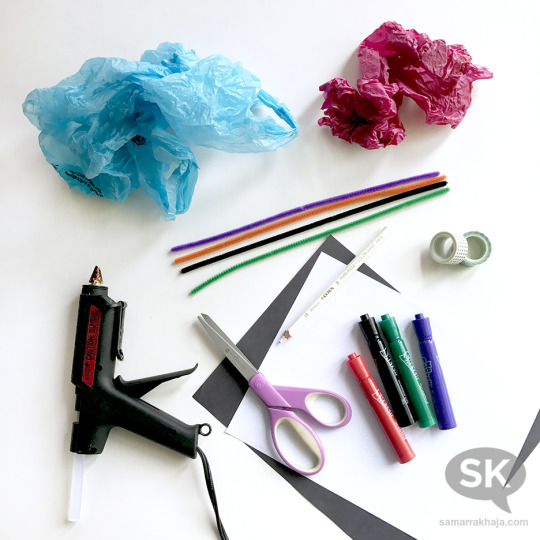
…..and of course, that darn plastic apple container carton thingie that inspired this project in the first place…
There are actually different configurations of apple cartons (based on the size and quantity of the apples inside), so look for the ones that are 4 w x 3 h. Some of the spheres in this carton aren’t totally spherical, so for this project, you’ll find that you can get 4 that are unobstructed from any other plastic mould shapes.
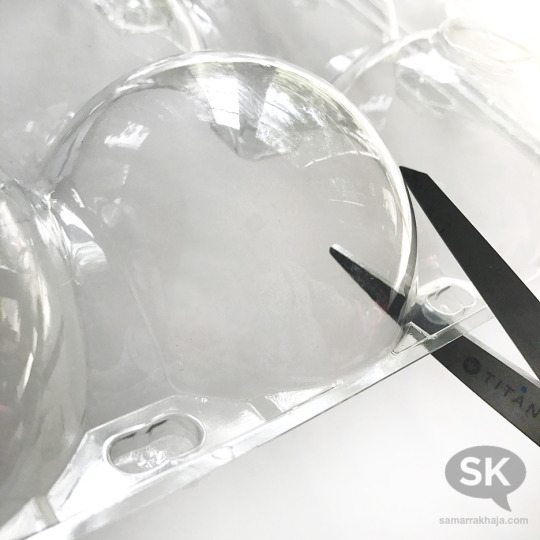
These are the 4 (2-sided) uninterrupted spheres that I cut out. When cutting, go slowly, as there are curves to contend with and you don’t want to snap the plastic unintentionally. You might consider using smaller scissors for more control:
Begin by cutting each half of your sphere out:
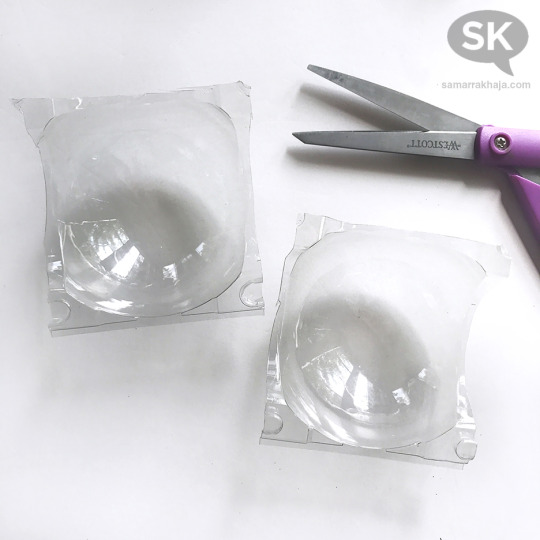
You’ll get two pieces that look like this:
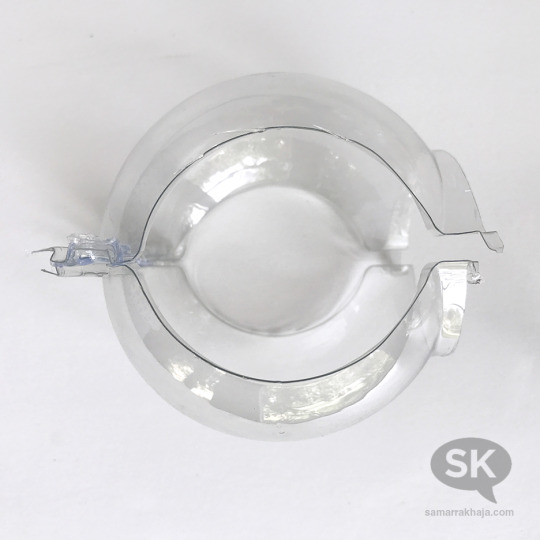
Snap them together, and it looks like this:
PIPE CLEANER LEGS:
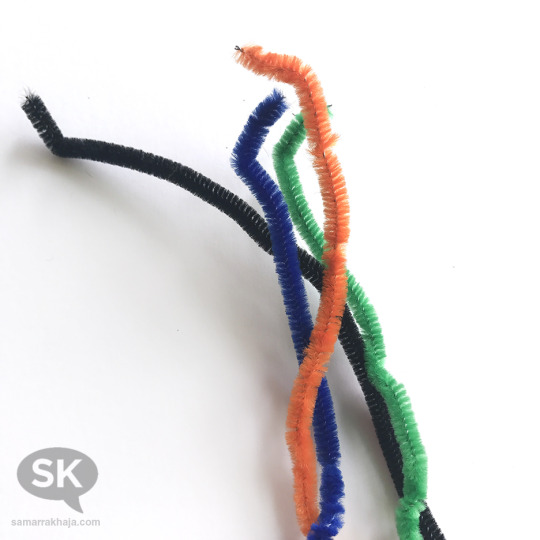
First a note: definitely consider repurposing old pipe cleaners from projects no longer wanted. They’re easy enough to get the kinks out of and make your spider legs with:
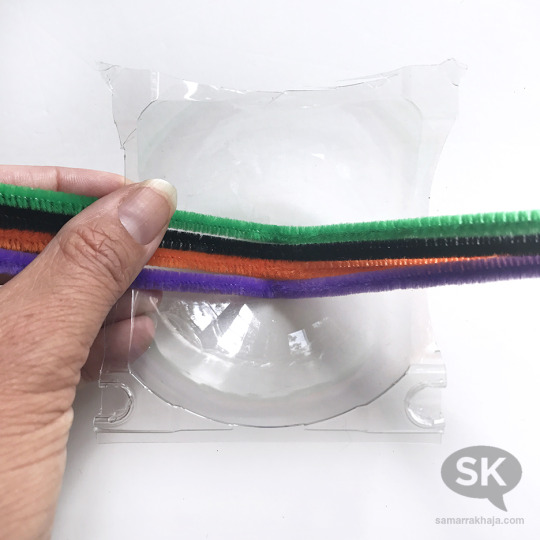
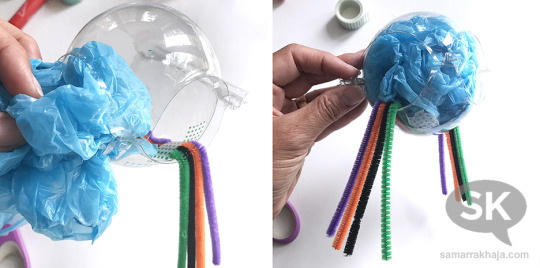
Whether you repurpose or use new pipe cleaners, take all four of them and fold them in half, like so:

Take one of the sphere halves and align the center of your pipe cleaners with the center of the sphere, like so:
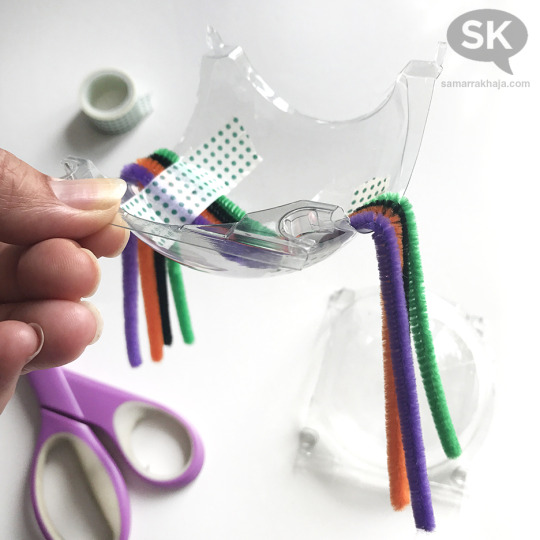
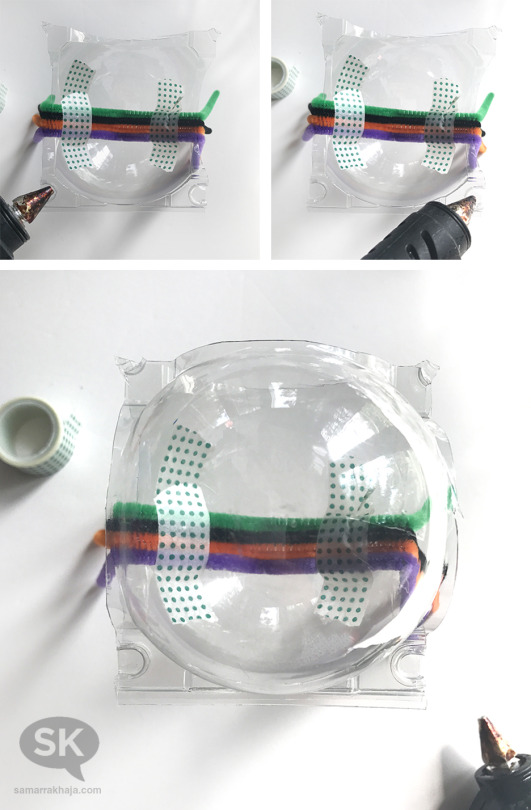
Now take your sticky strong paper tape and secure the pipe cleaners in place:

Now bend the pipe cleaners down on either side. Things are starting to look very spider-y!:
The bottom half of your sphere should be able to stand on it’s own now; it will be wobbly until we bend and adjust the legs (that comes later!). Using your hot glue gun, add glue to the bottom left and right corners (long the straight, closed edge) and attach the two halves together:
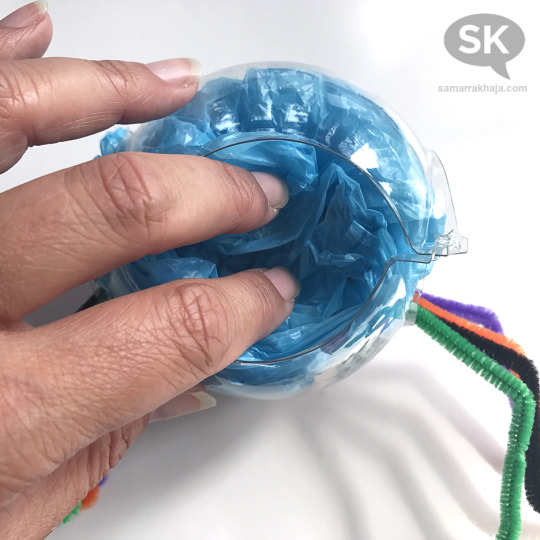
Next up, it’s time to stuff the spider tummy. You can use either tissue paper or a brightly colored plastic bag (remember that if you ever toss your spider later, you can take the plastic shopping bag back out and recycle it at your local grocery store!):
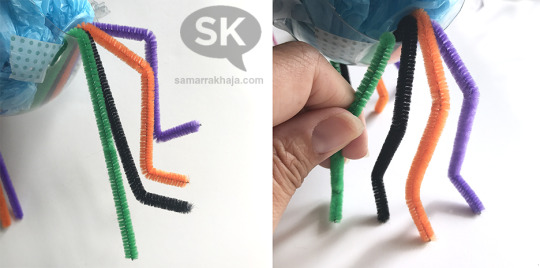
Now bend all the legs so each has a little foot (did you know spiders have paws?!?! they do!) and a knee:
SPIDER FACE:
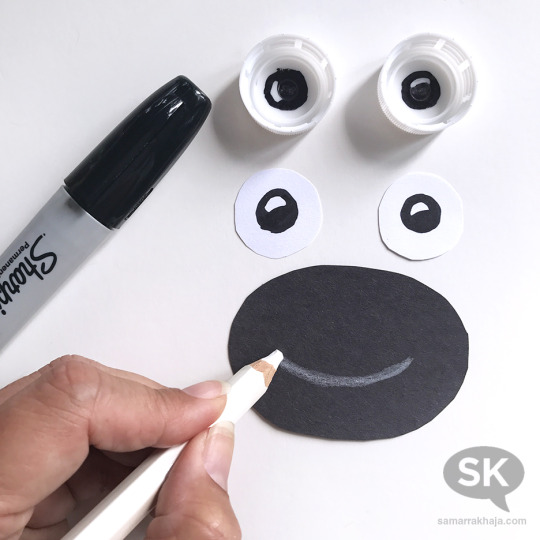
Now that most of the body is complete, let’s switch over to creating our spider’s face now. Using black construction paper, cut an oval out that’s approximately 3.25″w x 2.25″h.
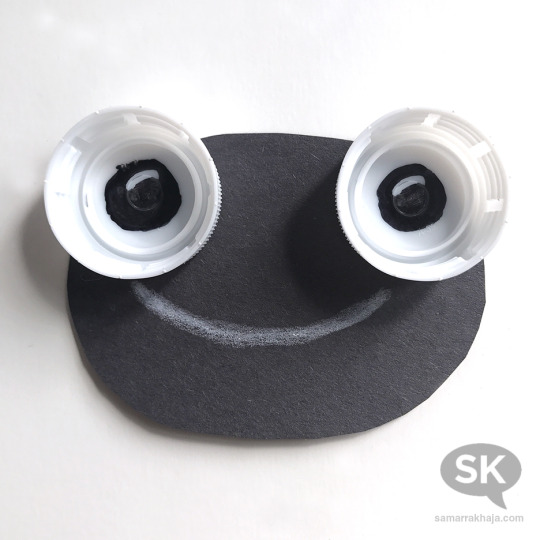
For the eyes, you can do one of two things: Either cut out two 1.25″ diameter circles out of white construction paper –or– recycle two white bottle caps (I got mine from seltzer bottles). Using a black permanent marker, draw your pupils and use a white colored pencil to draw the mouth:
If you choose to go with paper, use a glue stick to assemble your spider’s face:
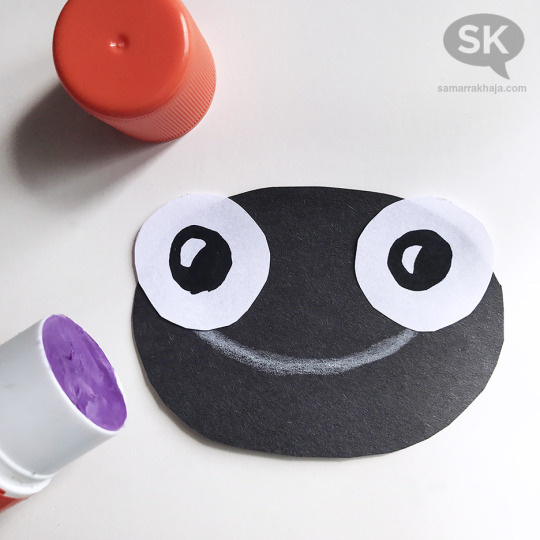
If you use recycled bottle caps, use your hot glue gun to assemble your spider’s face:
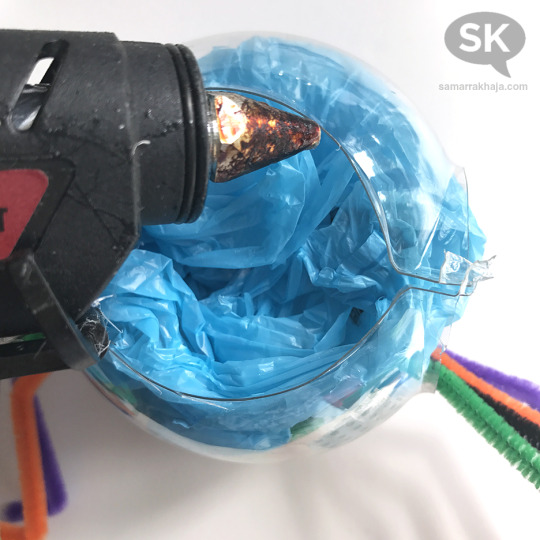
We’re almost to the finish line, as it’s time to attach the face to the body. Begin by pushing in the shopping bag so it’s not near the edge, as you don’t want it to get in the way of the hot glue gun and melt:
Now this part will take some slow precision: use the hot glue gun to put a bead of glue all the way around the front oval opening edge. Go slow. You won’t need too much to ensure the face sticks on well. Don’t over-glue as it might burn and melt the plastic:
Attach the face onto the center of this freshly glued edge, being careful not to burn yourself:
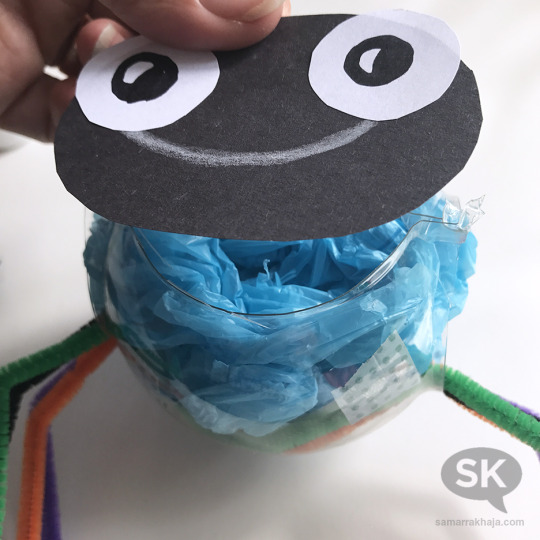
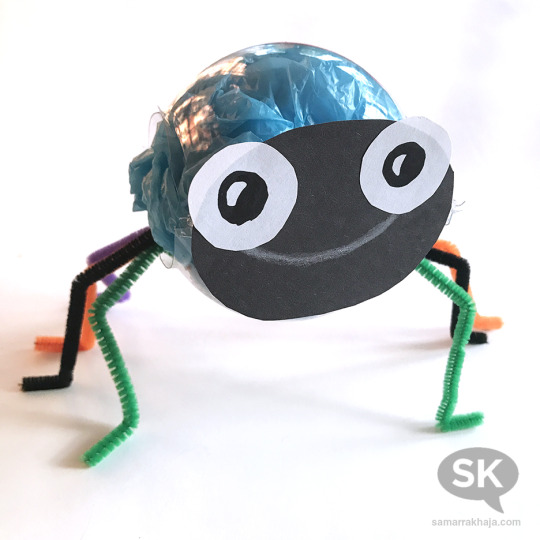
That’s it! Your recycle-proud Rollie Spider is complete!
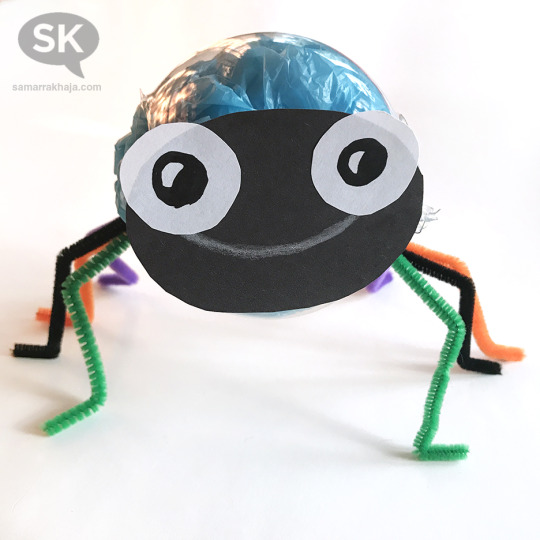
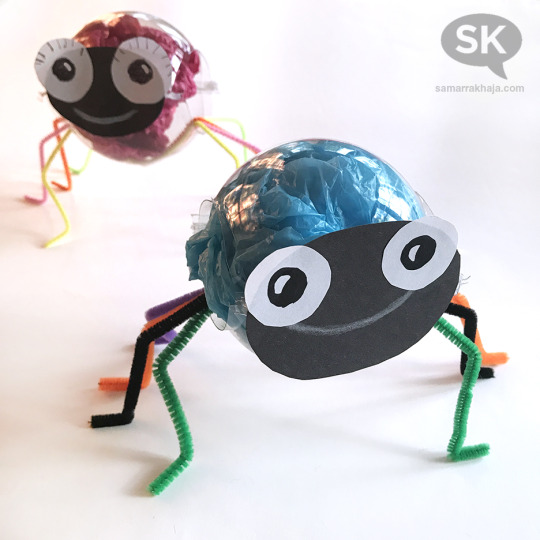
Enjoy and HAPPY HALLOWEEN!!!! And remember, be nice to spiders because they actually do GREAT THINGS for us!!!
P.S. Make sure to check out my second Halloween DIY craft using this same plastic apple carton, Part 2: Rollie Bats, coming soon!
xo-sk